The Kiwifruit Plant: Everything you Need to Know
-
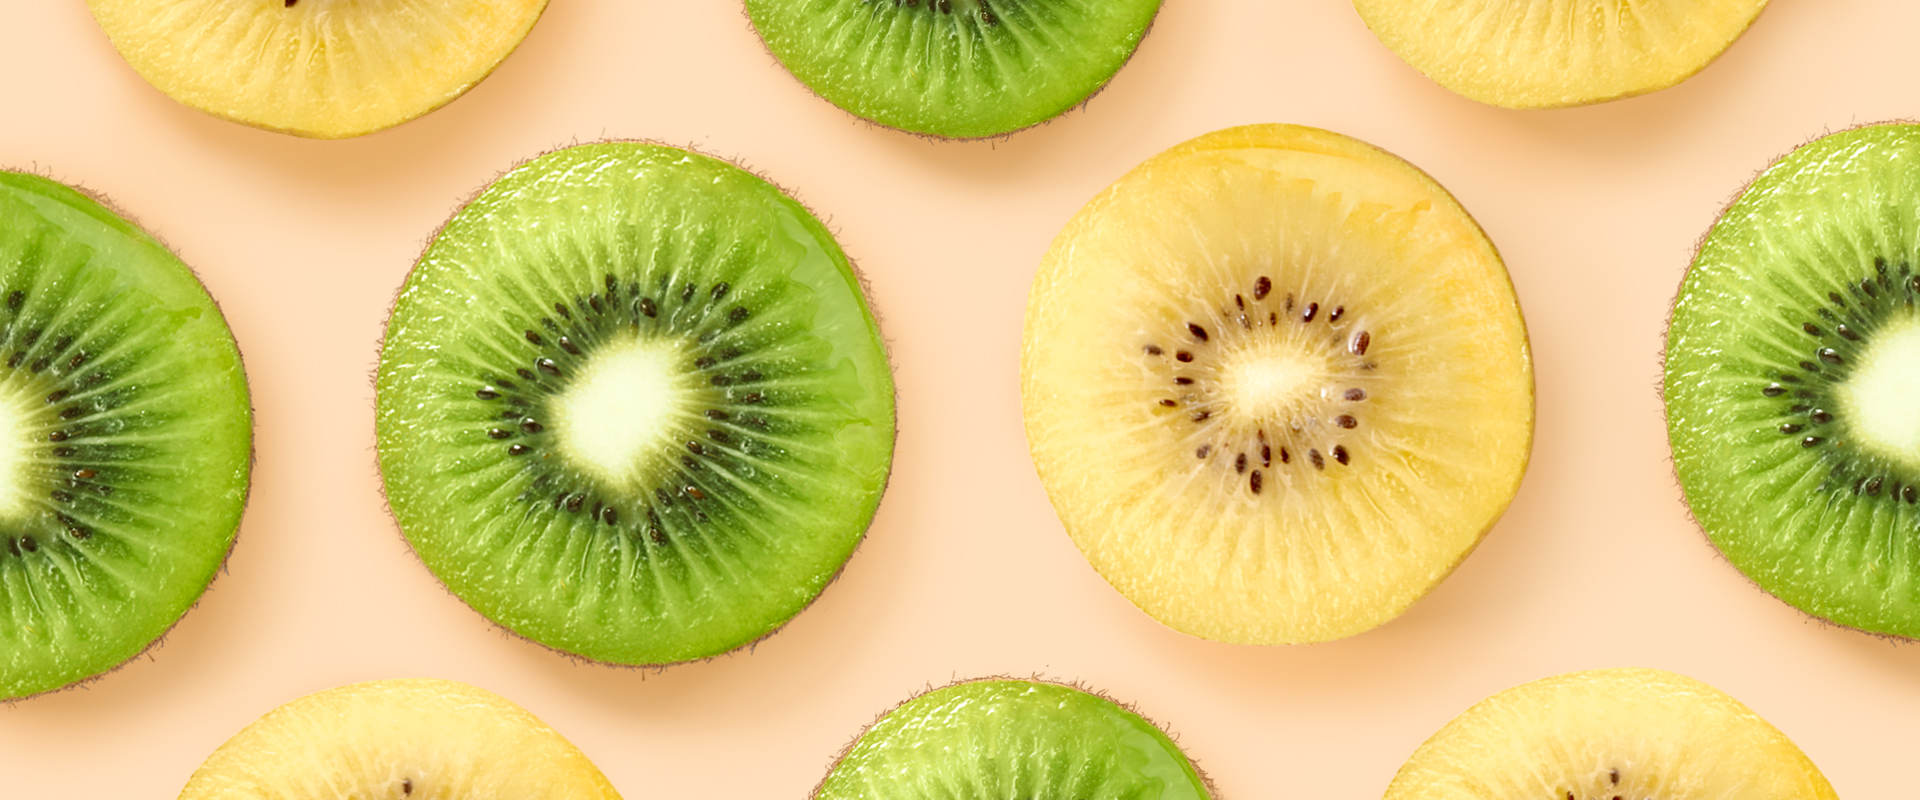
Zespri SunGold kiwifruit
-
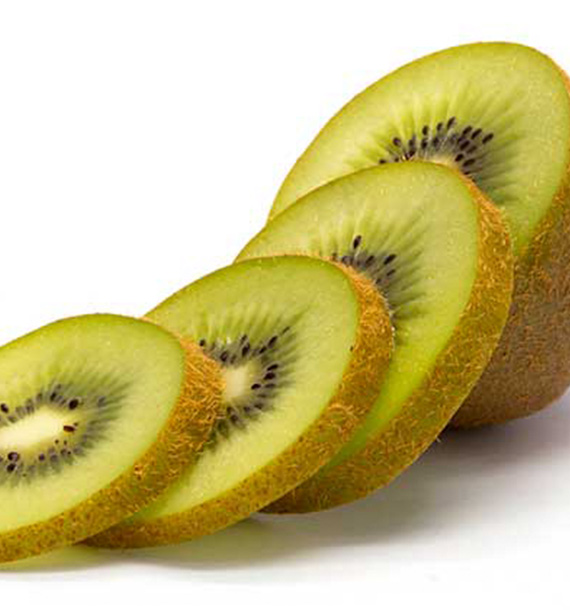
Zespri Green kiwifruit
These days, we all like to know a little bit more about the food we consume. After all, what we eat has a large impact on our health and wellbeing. This blogpost aims to answer all the questions you may have about the kiwifruit plant: from where it comes from to the best ways to grow your own. So, if you’re curious to do some light learning about your favourite tasty little fruit, look no further!
Where do kiwifruits come from?
Fans of epic adventure stories full of discovery and excitement, listen up! Today green and yellow kiwifruit are a regular feature on supermarket shelves, but it wasn’t always that way. The original fruit is from the Far East, having been grown in what is now modern-day China for many centuries. It was only in 1904 that it arrived on New Zealand shores, when Isabel Fraser brought some kiwifruit seeds back from her travels. These days, Zespri™ Green and Zespri™ SunGold™ kiwifruit are not only grown in New Zealand, but also in other countries like Italy and France.
What is the kiwifruit plant called?
The kiwifruit plant is part of the Actinidiaceae flowering plant family, specifically the genus Actinidia. Depending on the variety of kiwifruit that grows on the vine, the plant is considered a different species and has a different name. The green kiwifruit plant is known as Actinidia deliciosa, whilst the yellow kiwifruit is known as Actinidia chinensis.
How many varieties of the kiwifruit plant are there?
There are 30 different species that make up the Actinidia genus. Of course, it is the green and yellow varieties that we love the most! So let’s find out a little more about them…
The Actinidia deliciosa plant bears green fruit with furry skin and purple-black seeds. The fruit from an Actinidia chinensis plant has a more yellow flesh on the inside and fewer hairs on the outside.
What do kiwifruit leaves, flowers and seeds look like?
Kiwifruit leaves are normally oval or circular in shape with long stalks. Some even say that the leaves are heart-shaped! If you haven’t ever touched a kiwifruit leaf, you are in for a treat – they are large, smooth, and velvety. You can spot a young leaf easily – it will be coated with red hairs. Older leaves will be darker-green in colour and won’t have any hair on the surface. And what about those fragrant flowers? Kiwifruit flowers have five petals each: they start off with a white colour but turn yellow over time. Lastly, we can’t forget those distinctive, dark, edible seeds. Have you noticed that green kiwifruit has more seeds than yellow kiwifruit? If you haven’t, take a look next time!
What are the best conditions for growing kiwifruit?
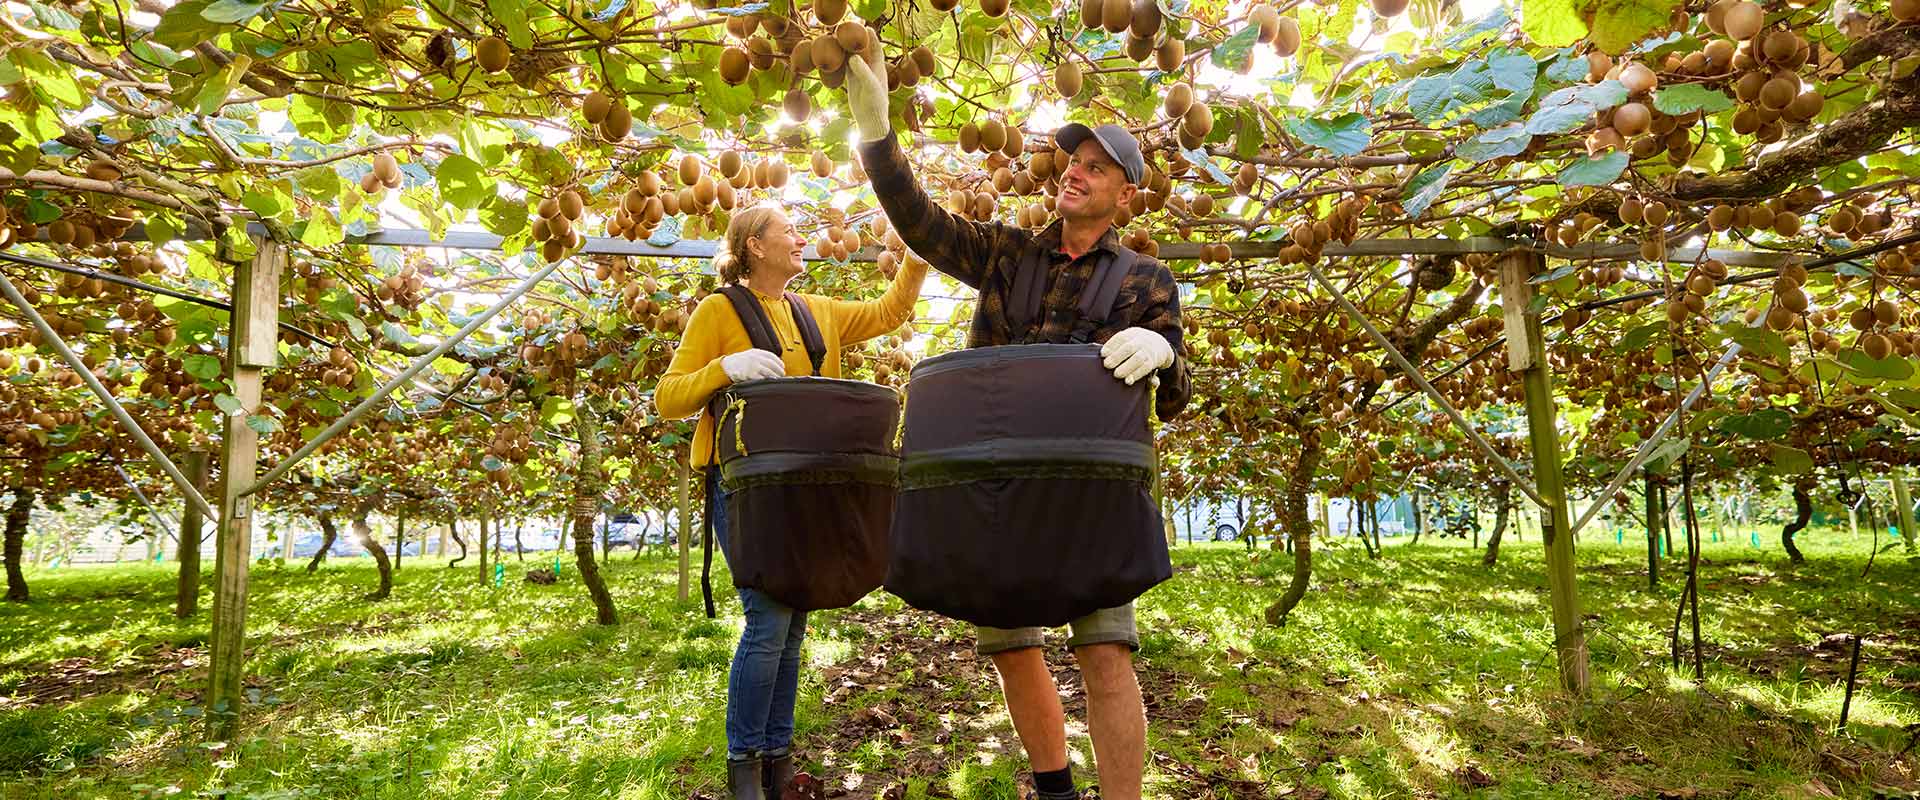
Kiwifruit vines are strong climbers! For that reason, they need a lot of room to grow. They also need a warm, wet, and sunny environment that is sheltered. Let’s not forget that they also need premium soil. By this we mean soil that is perfectly fertile with just the right balance of acid.
What is the best climate for cultivating kiwifruit?
Whilst some varieties can grow in colder climates, Zespri™ Green and Zespri™ SunGold™ kiwifruit require warmer, sunnier climates like France and Italy. Of course, the perfect climate can also be found in New Zealand – the home of Zespri™ kiwifruits! New Zealand provides the ideal conditions for growing kiwifruit: plenty of sunshine, lots of rain, extremely fertile soil, and the right amount of chill in the winter.
How can you grow your own kiwifruit plant?
Before you start, please keep in mind: growing your own kiwifruit takes a lot of patience! But with a little time (around 3-5 years), you can grow your own kiwifruit. So, how does it work?
1. Select your seeds
Buy a pack of kiwi seeds at your favourite plant shop. Each and every one of them has the potential to grow into a new plant!
2. Prepare your seeds
Wash your seeds in water and place them on moist paper towel. Pop the towel into a plastic freezer bag, find a warm pot for the seeds, and leave them there for a few days.
3. Check your seeds
Check your seeds every day to see if they have sprouted. If the paper towel becomes dry, wet it a little to keep it moist.
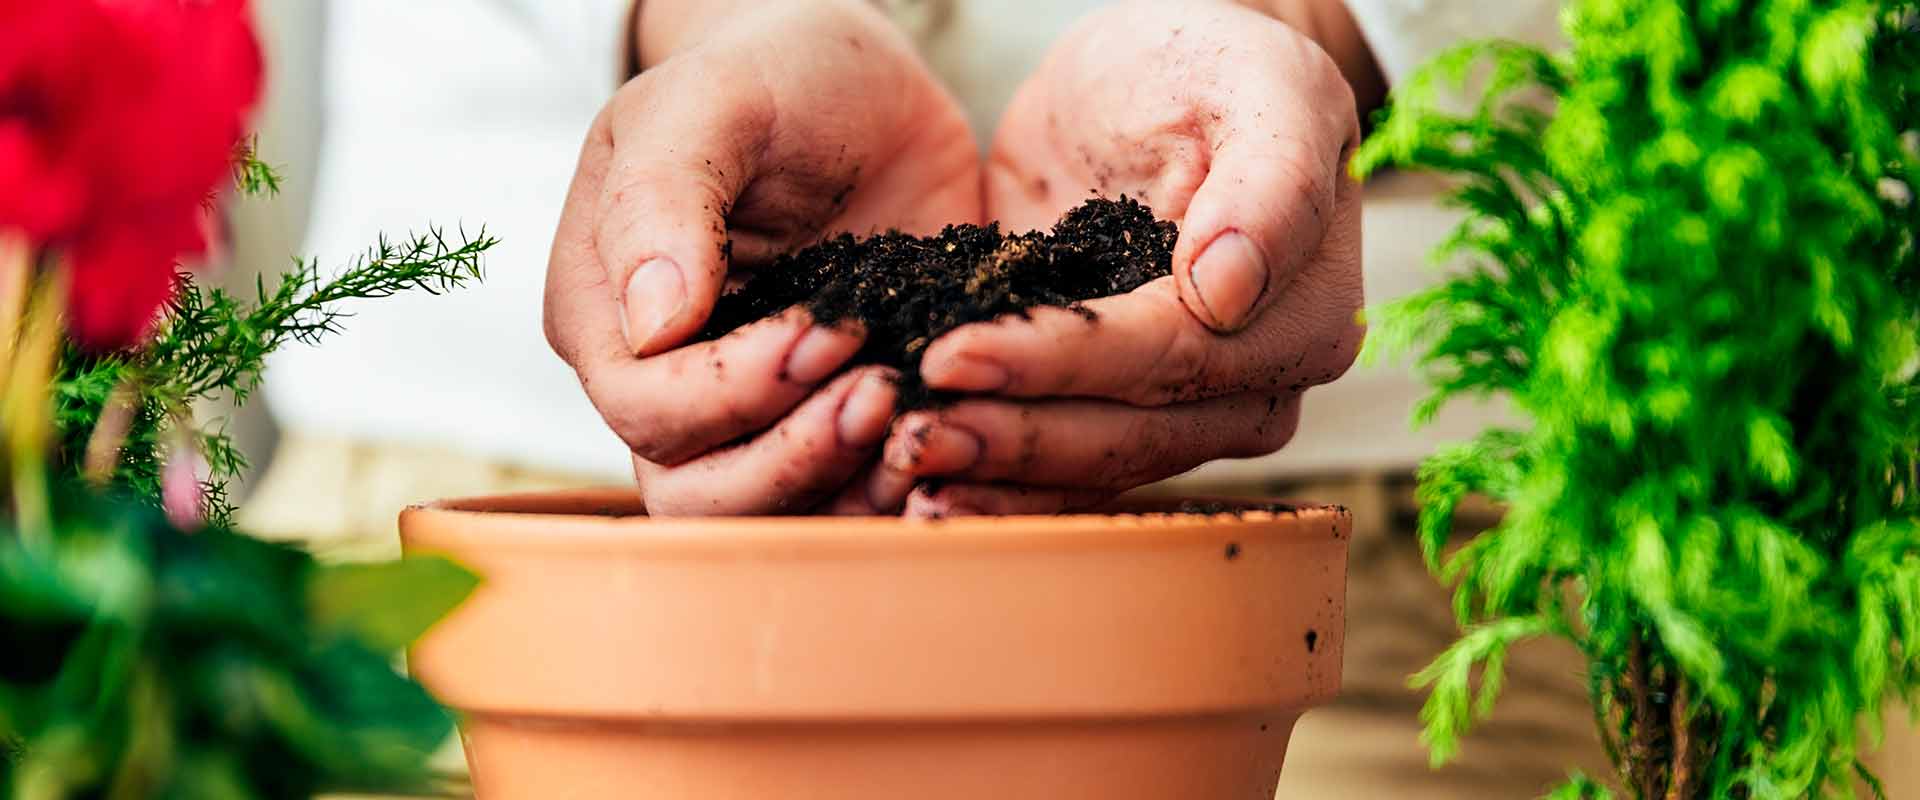
4. Plant your seeds
Tear your piece of paper towel into smaller pieces and place a couple of these into a small pot of soil. Repeat with the rest of the paper towel pieces – you’ll want at least ten small pots to increase the changes of pollination.
5. Watch and wait!
First you will see tiny leaves starting to grow from the sprouted seeds. Don’t forget to give them plenty of light and moisture! Once they become big enough, you can place each plant into a separate pot. You might want to add some store-bought fertiliser to provide them with even more nutrients. Finally, the plants will start to flower and will pollinate each other. The female plants will then bear the fruit you have been waiting for!